


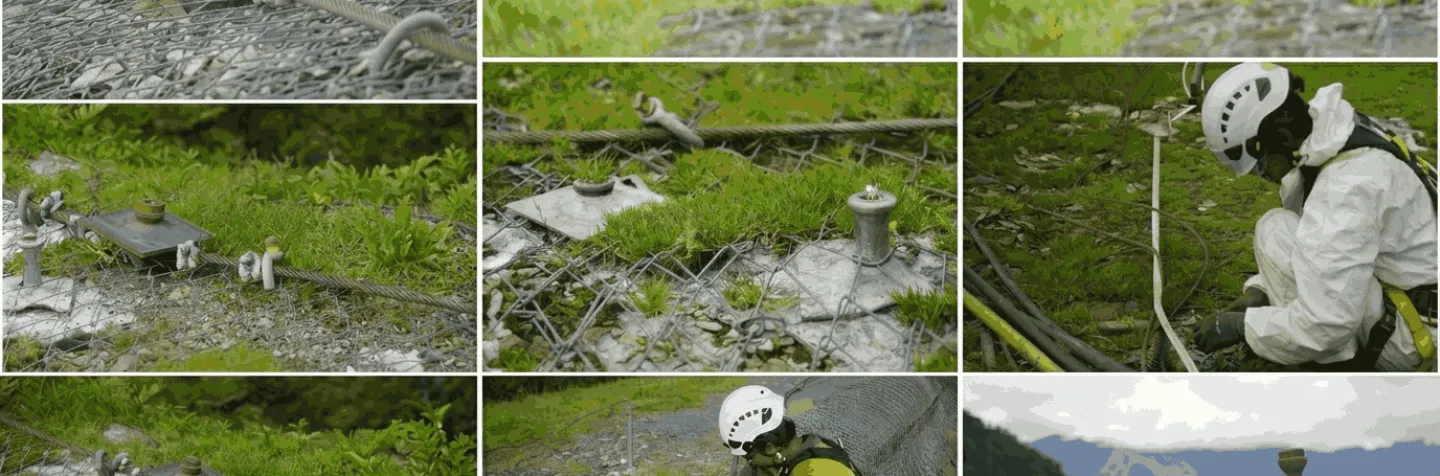
Soil nailing is a reinforcement method that maintains slope stability by installing steel bars (nails) passively and at close spacing into the soil, which are then grouted and covered with shotcrete. This technique increases the shear strength and factor of safety of the slope, making both excavated slopes and mine slopes more stable, economical, and safe against landslides.
Key Summary
The core points before you read the full guide:
- Principle: soil nailing reinforces slopes from within using passive, grouted steel bars, rather than holding them back from the outside like conventional retaining walls. Every nail installation is always followed by a grouting process.
- Main components: nail bar (steel reinforcing bar), cement grout, drainage (weep holes & horizontal drains), wiremesh or fiber, shotcrete facing, and bearing plates with locking nuts.
- Core stages: slope trimming → drilling → nail installation → grouting → drainage → wiremesh → shotcrete → pull-out test → plate installation.
- Common applications: excavated slopes, open-pit mine benches, tunnel portal walls, haul roads, and areas with limited working space.
- Safety standard: the factor of safety (FS) of permanent slopes is generally required to be ≥ 1.5 under static conditions, in accordance with geotechnical practice and SNI 8460:2017.
- Added value: generally faster and more cost-effective than massive reinforced concrete walls or sheet piles in many slope conditions.
Introduction
Slope failure is one of the costliest and most dangerous risks in mining and construction operations. A single landslide event can halt production, damage haul roads and infrastructure, and, above all, endanger worker safety. For this reason, choosing the right slope reinforcement method is a technical decision that determines the continuity of operations.
Soil nailing has emerged as one of the most efficient, flexible, and internationally proven slope stabilization methods. It is widely used to reinforce steep excavated slopes, open-pit mine benches, and even walls around tunnel openings.
This guide covers soil nailing for slope stability comprehensively: its definition and working principle, components, installation stages, technical data, application examples, advantages and disadvantages, and material recommendations. The article is intended for geotechnical engineers, mine planning staff, project managers, and procurement teams who need to understand this method before making design or procurement decisions.
What Is Soil Nailing?
Soil nailing is an in-situ ground reinforcement technique that strengthens a slope or excavation by installing a number of passive steel bars called nails or soil nails closely spaced within the soil mass, then filling the holes with grout and covering the surface with shotcrete.
As a result, the originally weak soil mass becomes a single stable composite block capable of resisting shear forces. Every soil nailing installation is always followed by a grouting process, because the grout bonds the nail to the surrounding soil and also protects the steel bar.
Unlike retaining walls, which resist loads from the outside, soil nailing works from within the slope body. The embedded reinforcement resists soil movement along the potential failure plane and distributes loads to the surrounding soil.
How Does Soil Nailing Work?
When the soil in a slope begins to move down a potential slip surface, the embedded nails crossing that surface are subjected to tensile forces. These tensile forces resist soil movement and increase the normal force and shear resistance along the failure plane. With close spacing, the entire soil mass works together as a single composite unit that is far more stable than unreinforced soil.
“Soil nailing does not hold the soil back from the outside; rather, it transforms the soil mass of the slope itself into a single stable composite block capable of resisting shear forces.”
Soil Nailing vs. Ground Anchor: What Is the Difference?
Both use reinforcement embedded in the ground, but they work differently. The main difference lies in the nature of the forces involved:
- Nature of Force: Soil nailing is passive (it only becomes active when the soil moves), whereas a ground anchor is active because it is prestressed by tensioning (stressing).
- Installation Method: Soil nails are installed at close spacing and in large numbers without stressing, whereas ground anchors are installed at wider spacing and in smaller numbers using stressing.
- Reinforcement Length: Soil nails have a relatively short length (0.6–1.0slope height), whereas ground anchors use relatively long tendons that extend into the stable soil zone.
- Ideal Application: Soil nailing is ideal for excavated slopes and relatively uniform soil types, whereas ground anchors are better suited to resisting large loads, tall wall structures, or rock conditions.
- Cost per Point: The cost per installation point is relatively lower for soil nailing than for ground anchors.
In practice, the two methods are often combined for complex rock slope conditions.
Main Components of a Soil Nailing System
A reliable soil nailing system consists of several complementary components:
- Nail bar (reinforcement): high-strength threaded steel bar (deform bar) that serves as the main tensile element.
- Grout: non-shrink cement grout that bonds the nail to the soil and protects it from corrosion.
- Centralizer: a spacer that keeps the nail at the center of the drill hole so that it is evenly surrounded by grout.
- Shotcrete facing: sprayed concrete that protects the slope surface from erosion and also supports the shallow soil between nails.
- Wiremesh / fiber: steel mesh or synthetic fiber that reinforces the shotcrete layer.
- Bearing plate & locking nut: a plate and nut at the end of the nail that transfer force from the facing to the reinforcement.
- Drainage system: weep holes, horizontal drains, and geocomposite that remove groundwater and prevent excessive pore water pressure.

Figure 1. Threaded nail bar (deform bar) with bearing plate and locking nut on the slope surface.
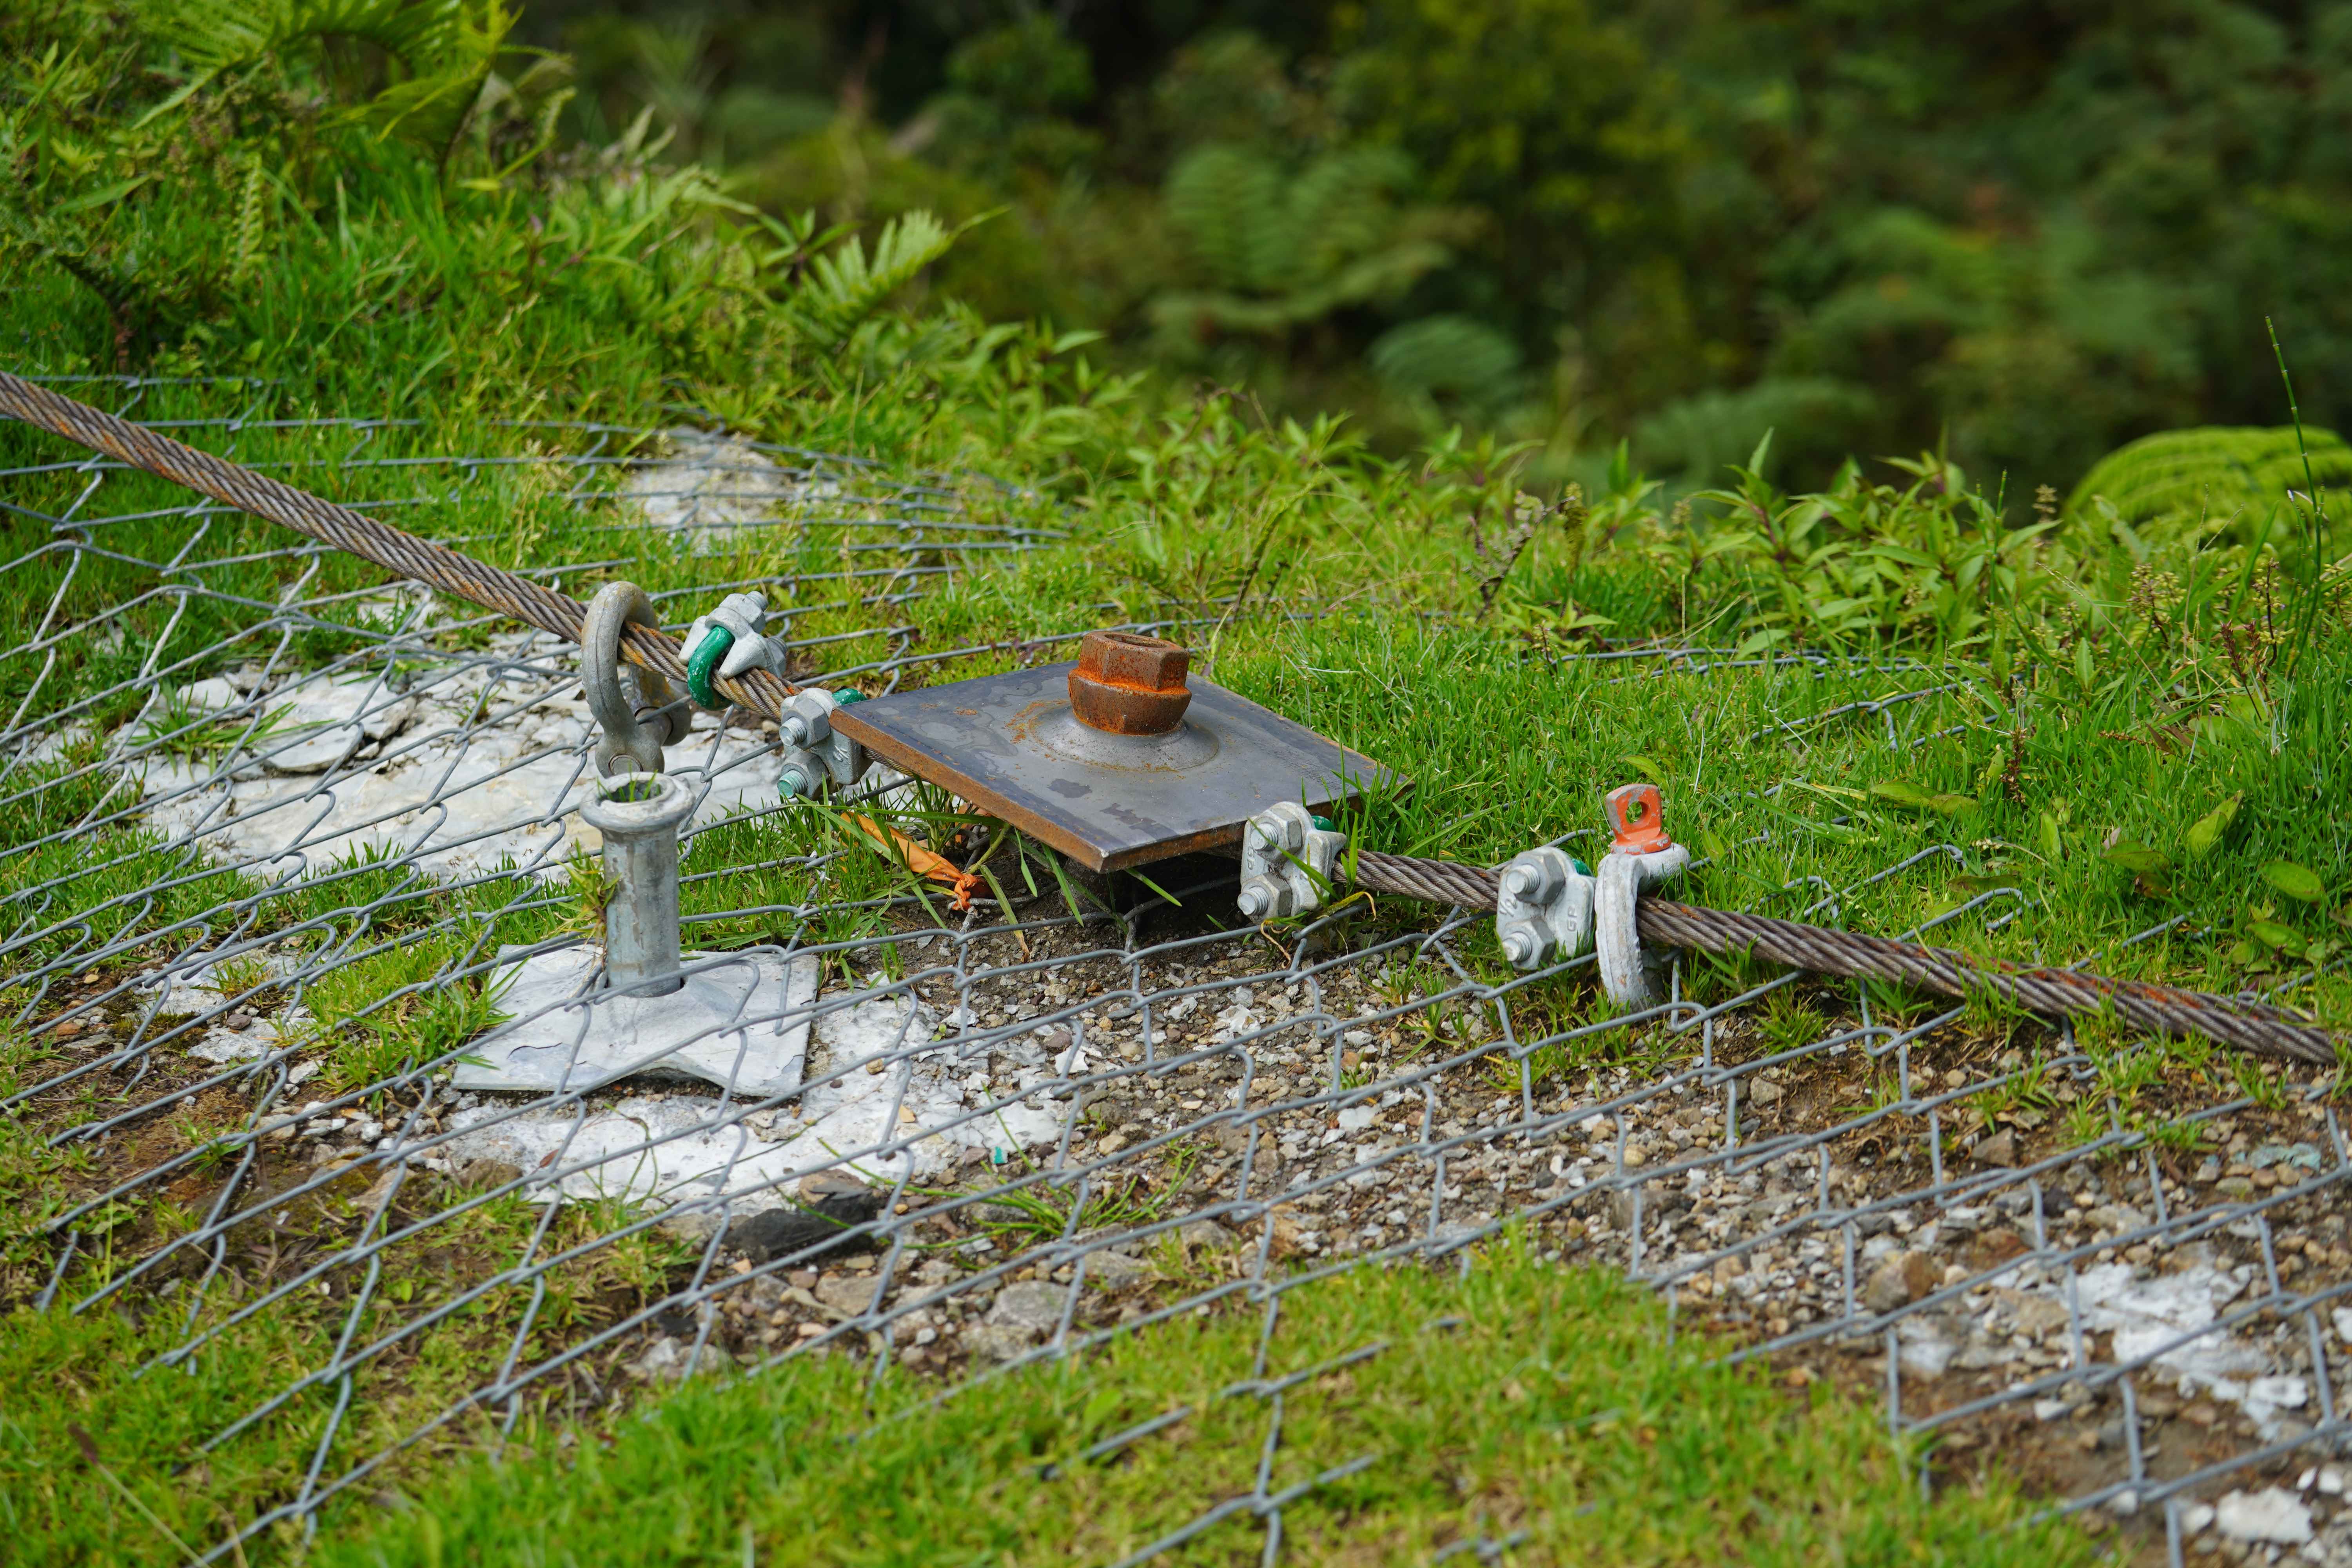
Figure 2. Bearing plate and locking nut installed on top of the wiremesh, complete with wire rope shackles, and clamps.
Soil Nailing Installation Stages
In general, soil nailing in the field follows the sequence below. Each stage is carried out progressively from the top to the bottom of the slope (top-down):
- Slope trimming - Trimming and shaping (regrading) of the slope surface according to the design geometry.
- Drill point marking - Determining the drilling points for nails, horizontal drains, and weep holes according to the design pattern.
- Drilling - Drilling holes at the specified diameter and inclination (generally 10–20° from the horizontal).
- Nail bar installation - Inserting the steel bar, complete with centralizers, into the drill hole.
- Grouting - Filling the hole with cement grout using a pumping system until the hole is completely filled. Grouting is an inseparable part of every nail installation; without grouting, the nail is not bonded to the soil and cannot transfer tensile forces.
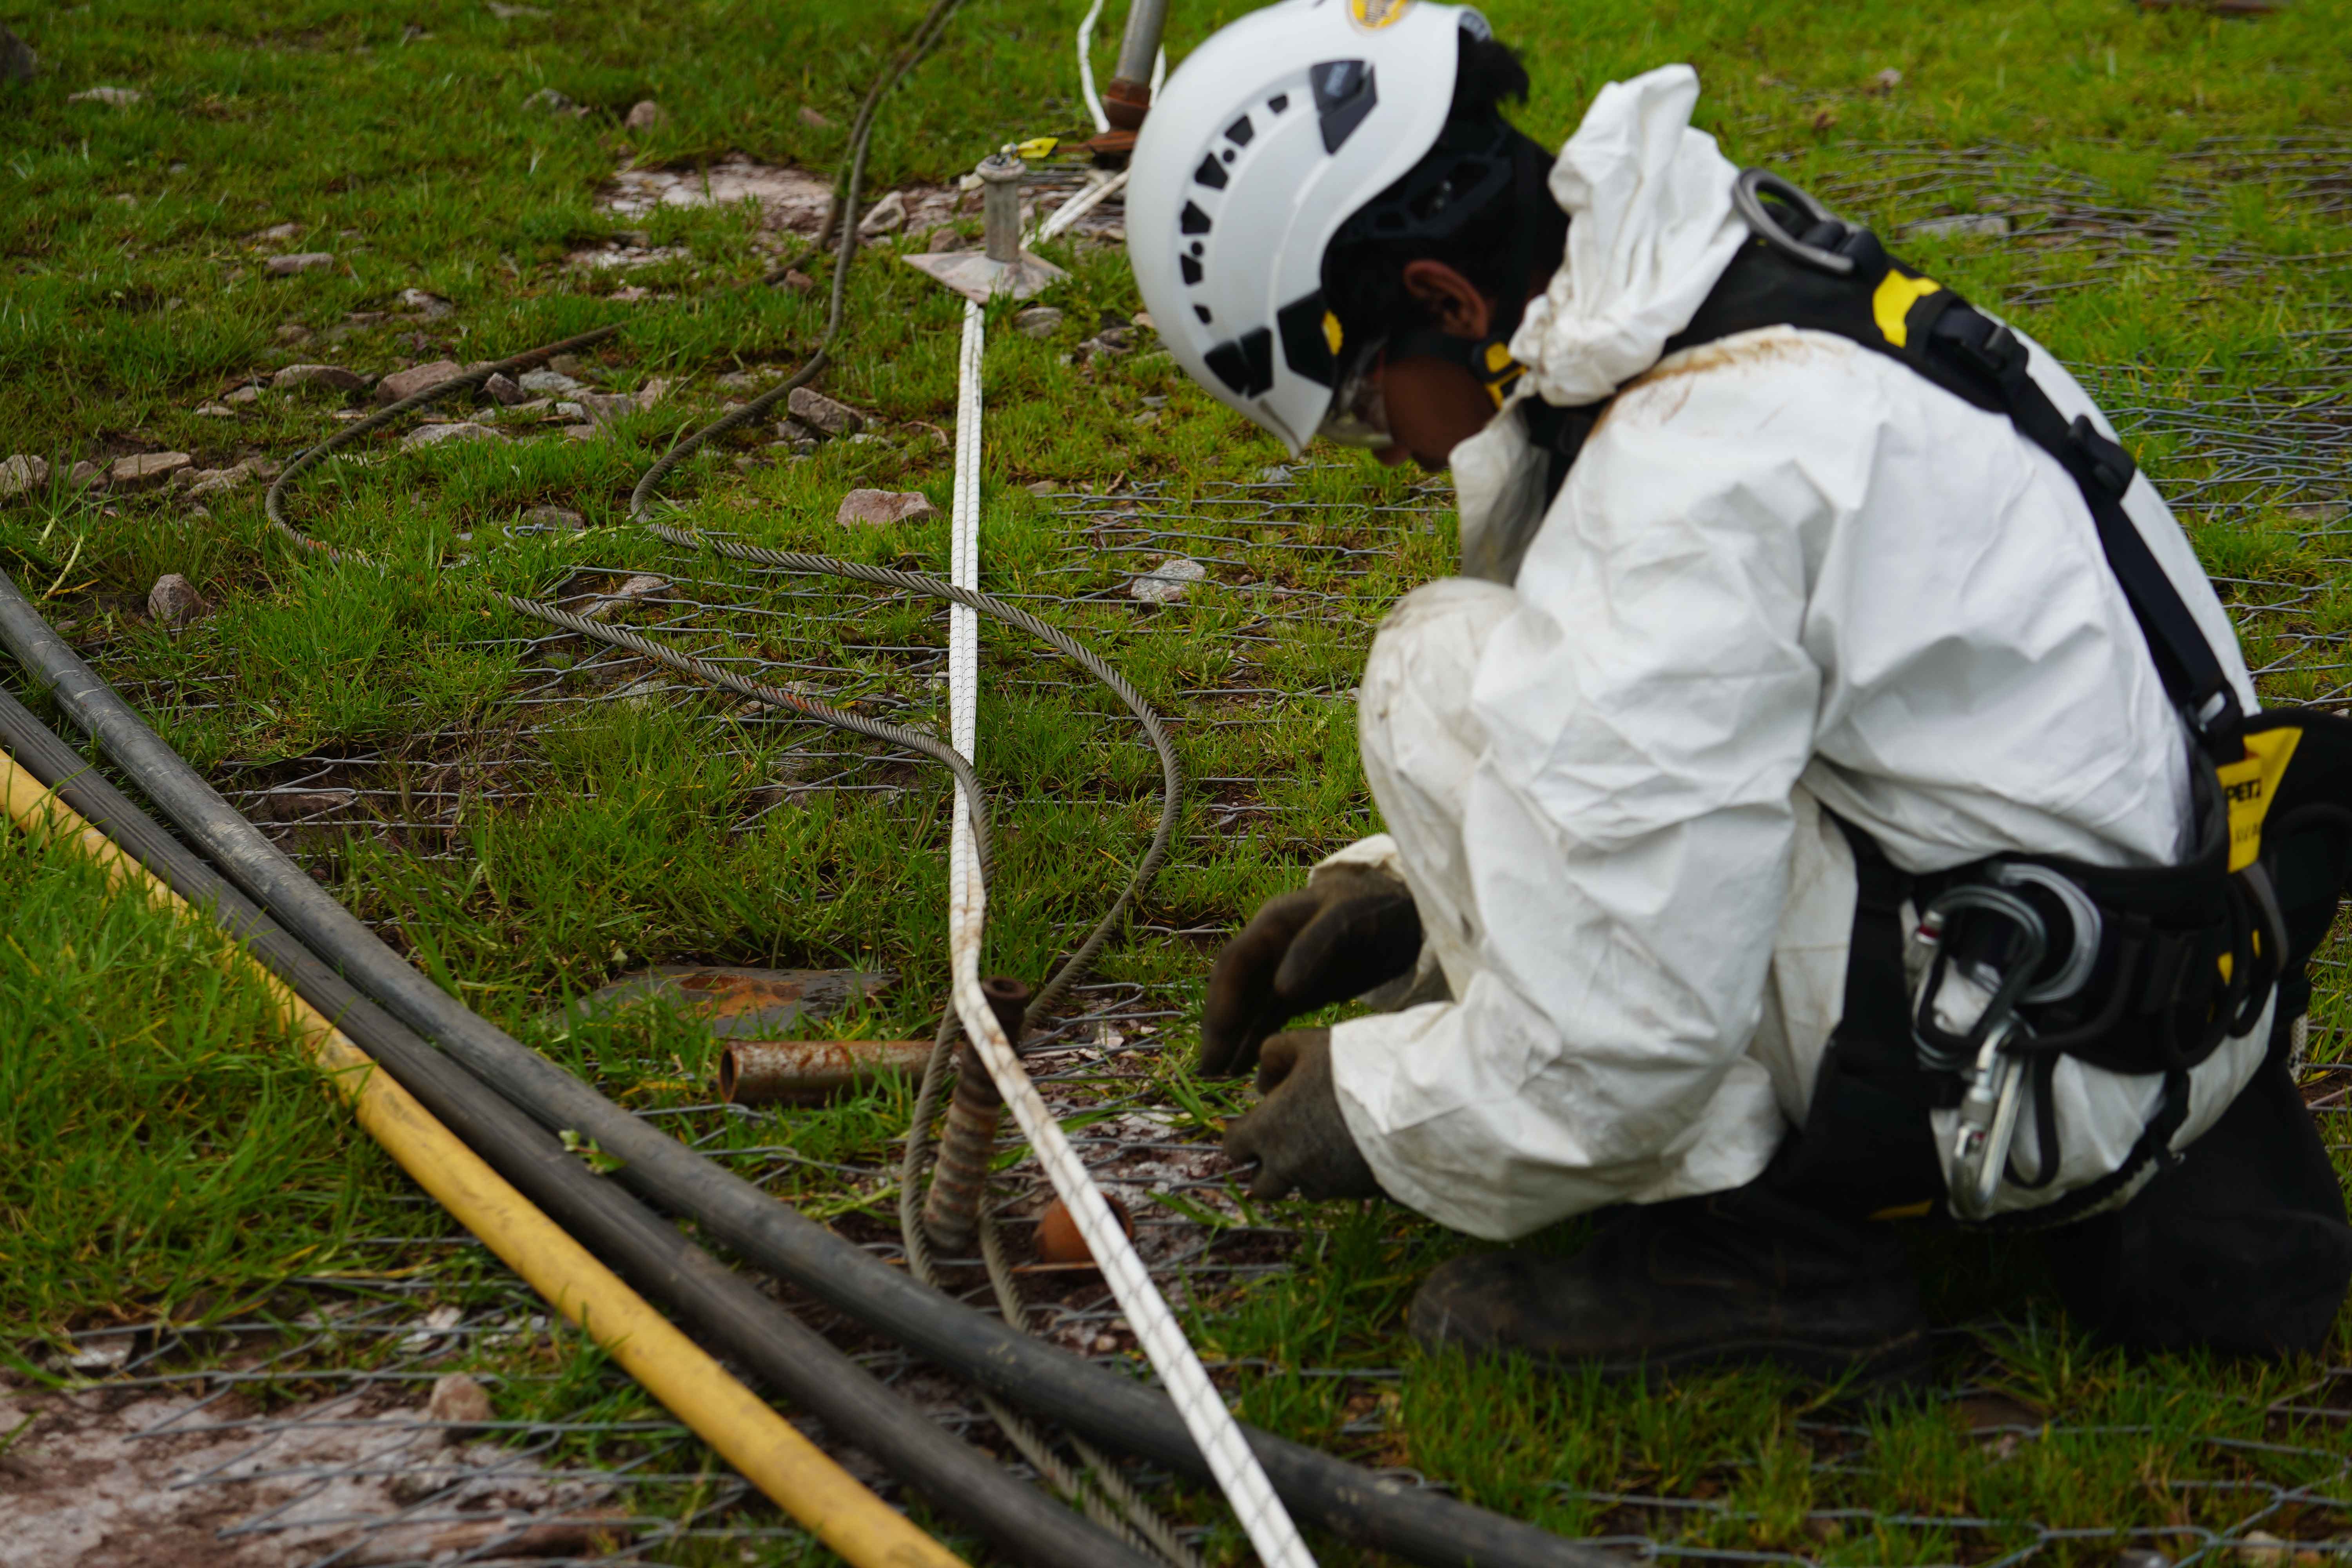
Figure 3. A technician prepares the nail bar and installation equipment on the slope surface.
- Drainage installation - Installing weep holes, horizontal drains, and geocomposite to control groundwater.
- Wiremesh installation - Installing wiremesh (or using fiber) along with vertical and longitudinal reinforcement.
- Shotcrete facing - Spraying shotcrete as a protective layer on the slope surface.
- Pull-out test - Performing a tensile test (pull-out test) to verify the pull-out capacity of the nails in accordance with the design.
- Plate installation & protection - Installing the bearing plates and tightening the nuts, followed by corrosion protection (encasing the nail ends in concrete).
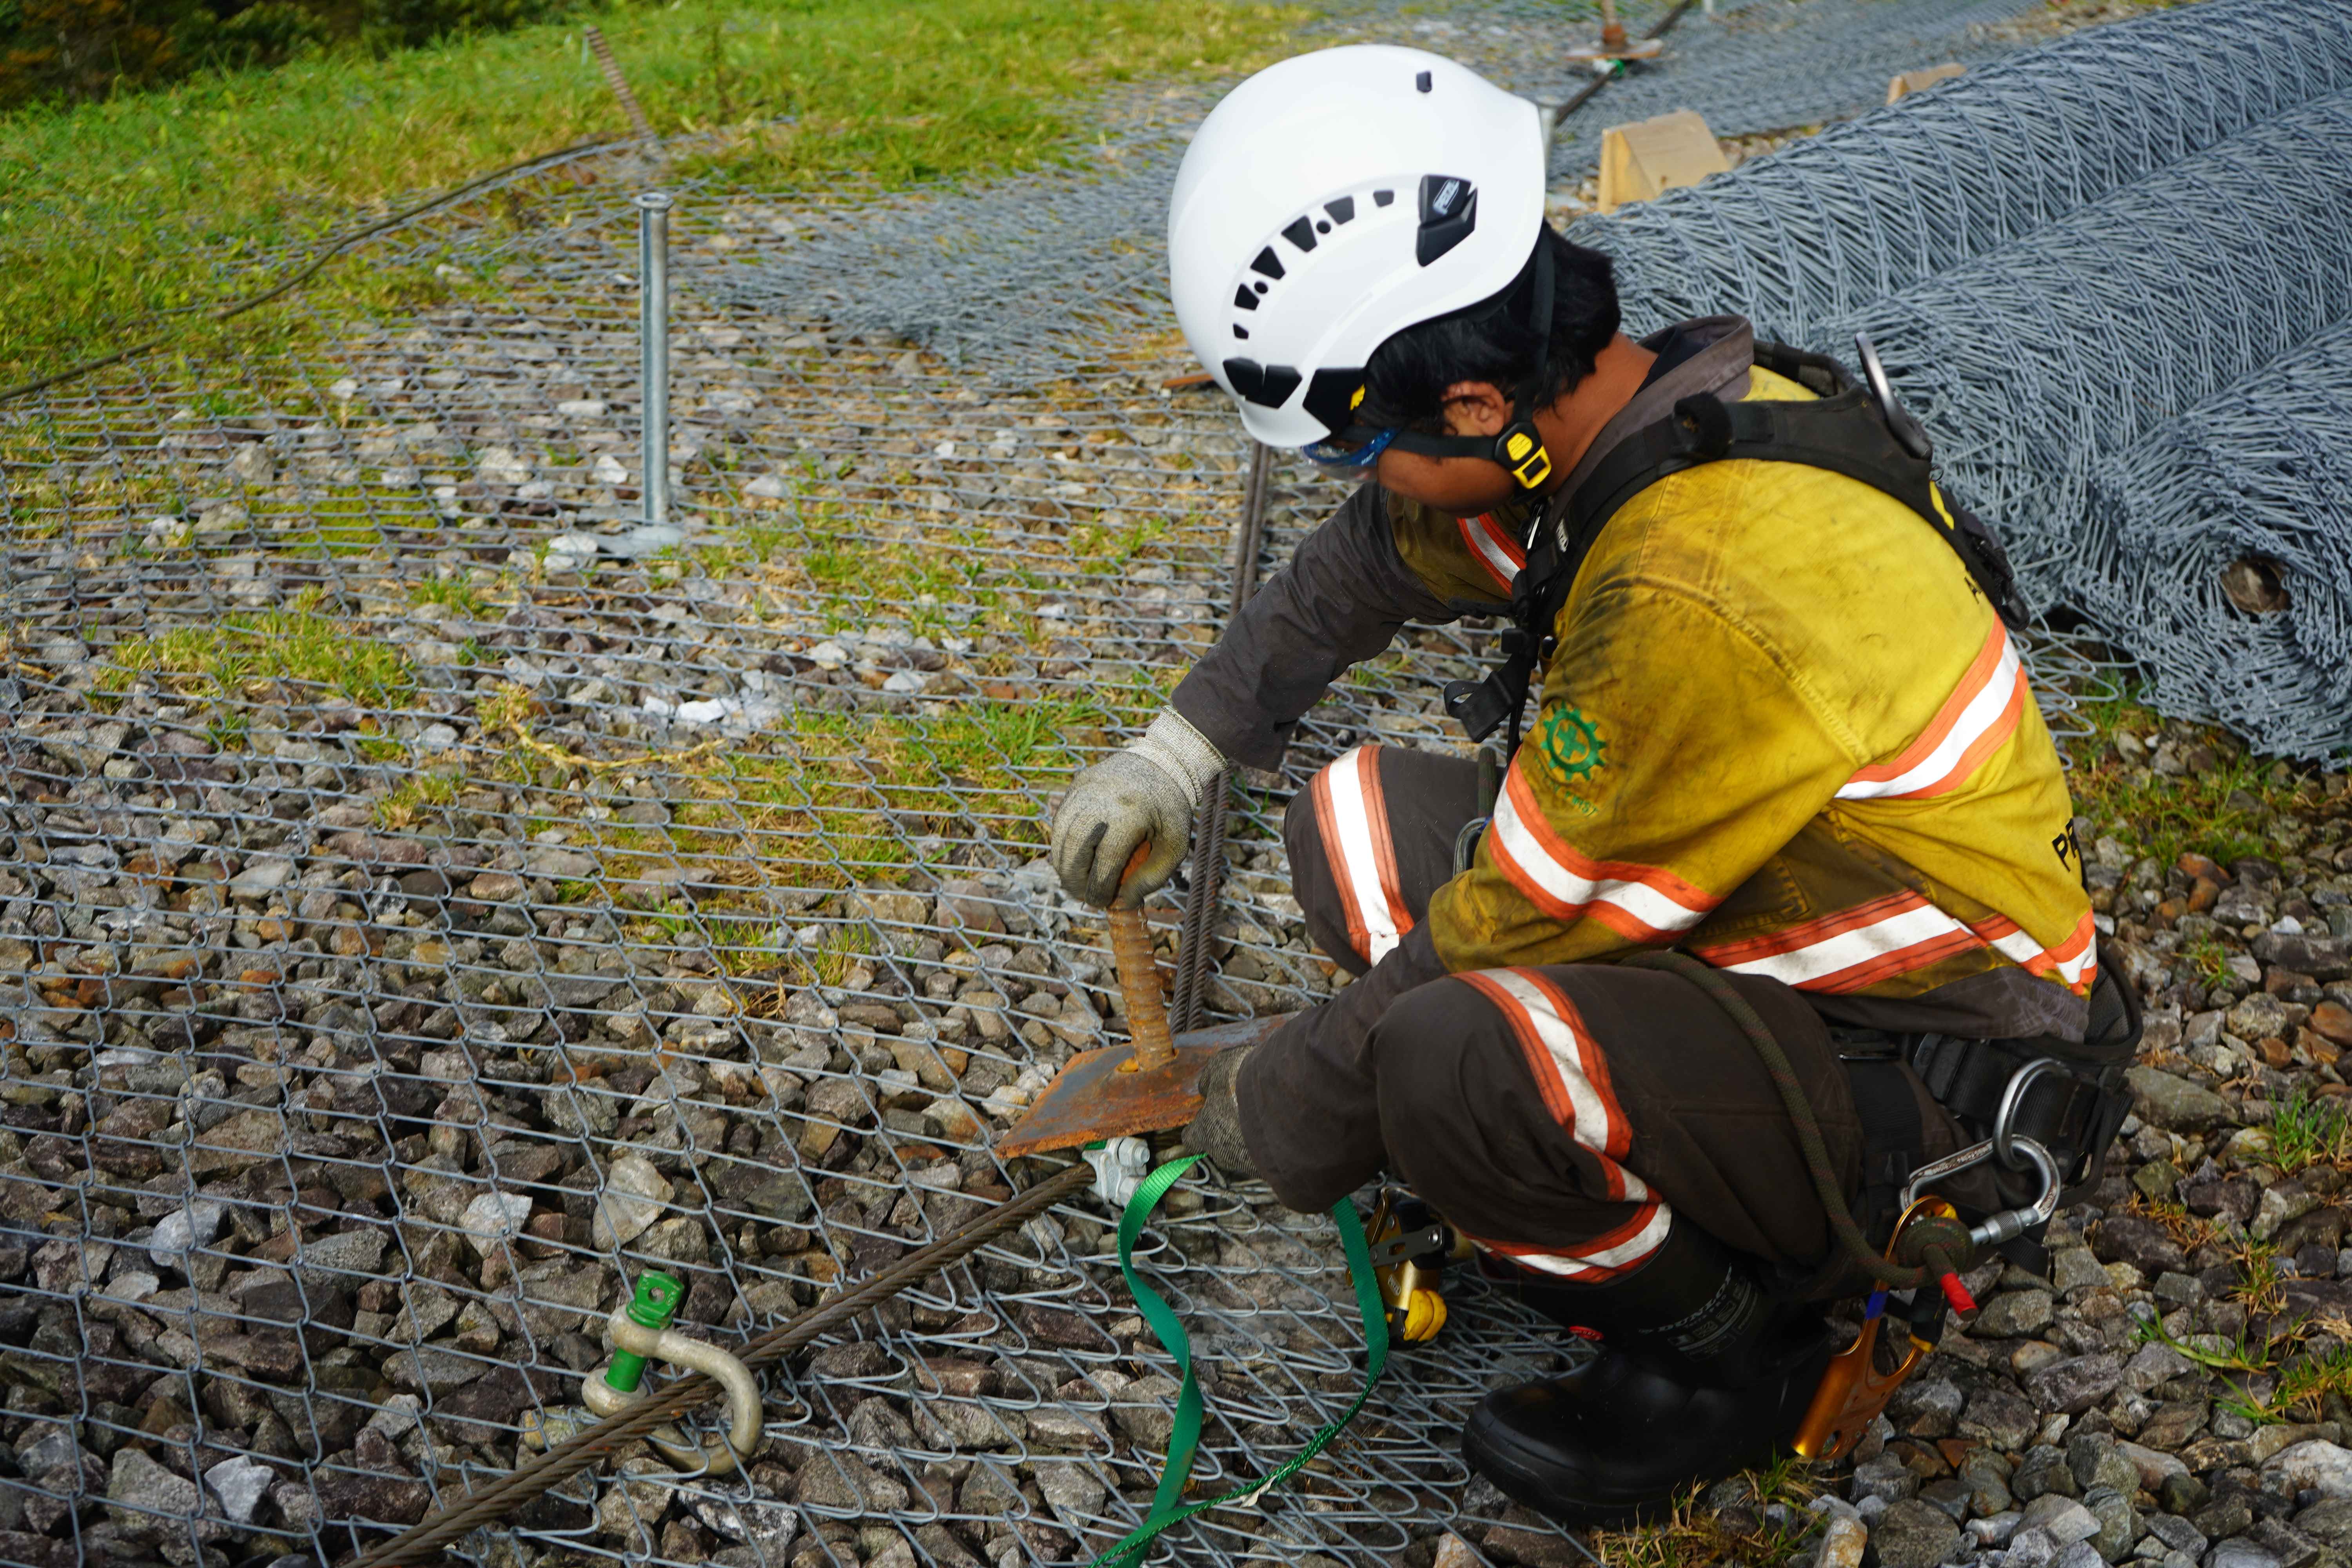
Figure 4. Installation of a bearing plate at the end of a nail on top of the laid wiremesh.
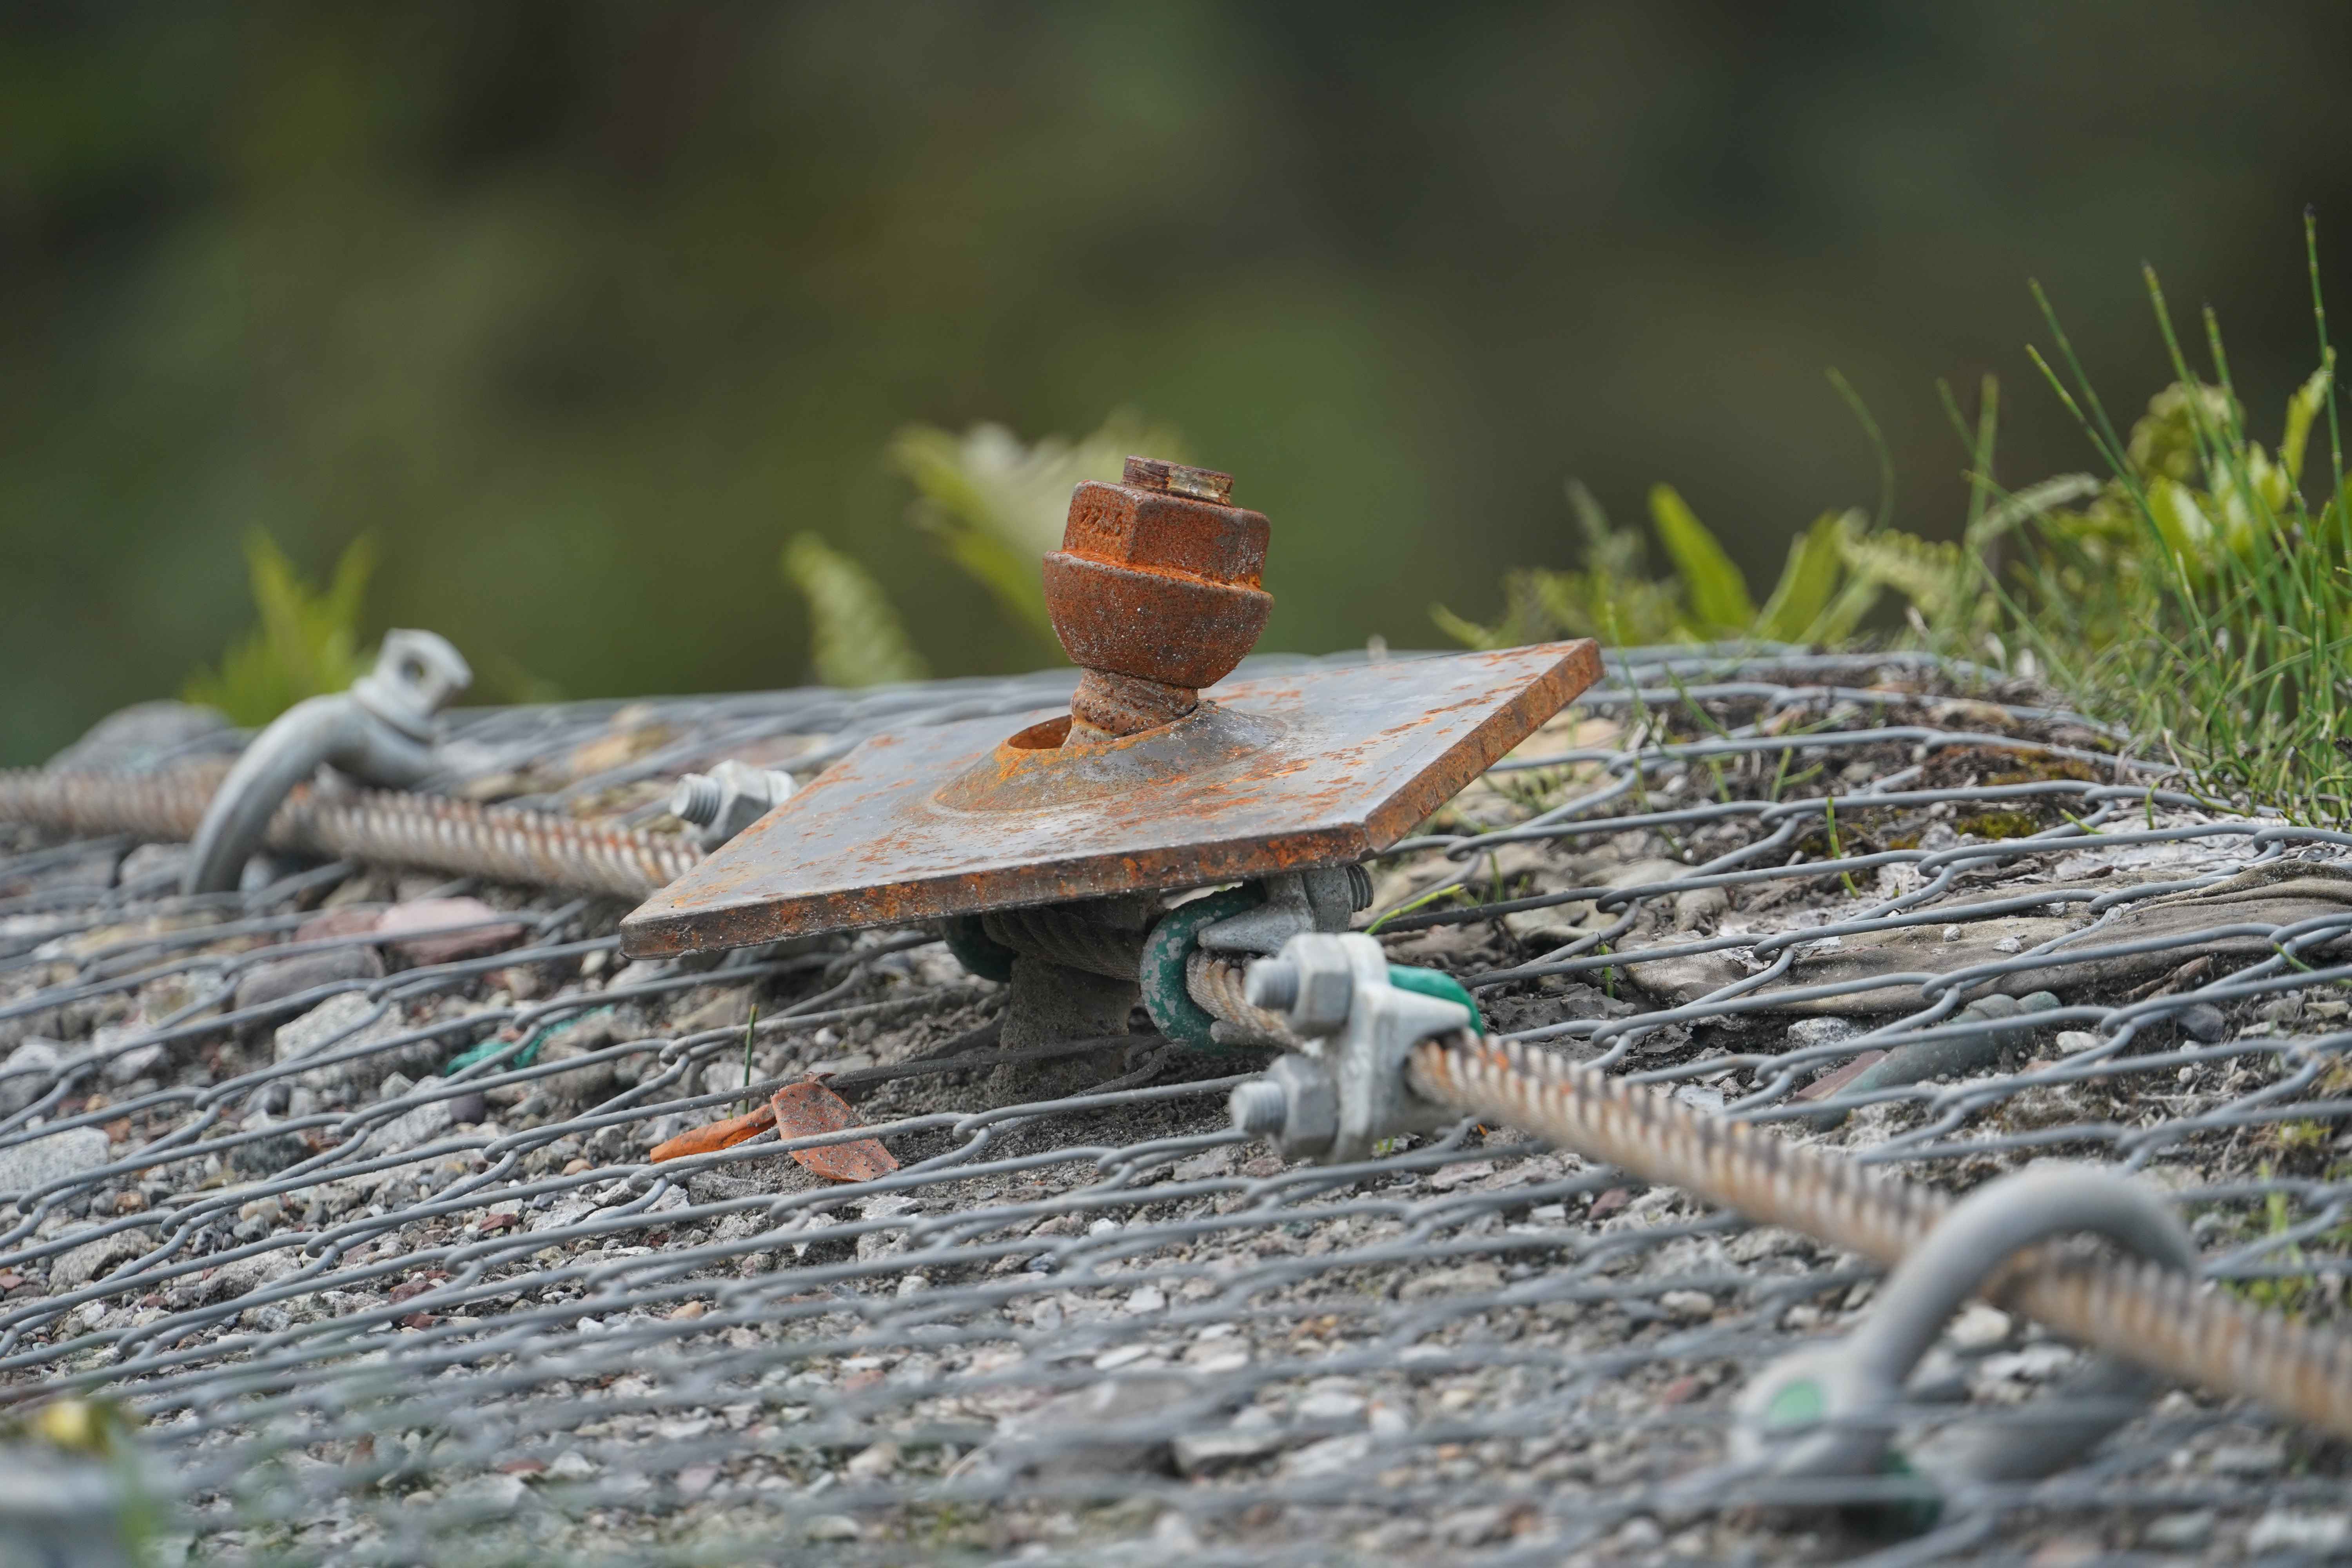
Figure 5. Close-up of the bearing plate and locking nut at the nail end.
Soil Nailing Technical Data and Facts
The table below summarizes typical soil nailing design parameters commonly used as an initial reference. Actual values must be determined through design calculations based on local geotechnical investigation results.
Note: the ranges above represent general practice references (based on FHWA GEC No. 7 guidelines) and are not a substitute for design calculations. Always verify against applicable standards and site conditions.
“FHWA Geotechnical Engineering Circular No. 7 (2015) stipulates that permanent soil nail walls must satisfy minimum factors of safety against global failure, pull-out of the reinforcement, and steel yielding, under both static and seismic conditions.”
Case Studies and Application Examples in Mining
Application example (technical illustration): a 12-meter-high open-pit mine bench experiences seepage and signs of tension cracks at the slope crest during the rainy season. Instead of building an expensive and time-consuming massive retaining wall, the geotechnical team chose soil nailing with nail lengths of 8–10 meters at 1.5 × 1.5 m spacing, grouted with non-shrink grout, then covered with 100 mm of fiber-reinforced shotcrete and equipped with horizontal drains. As a result, the slope factor of safety rose above 1.5, and operations could continue without prolonged production shutdowns.
Scenarios like this reflect real slope stabilization work in the field. As an illustration of its track record, APTEKINDO has handled a variety of slope protection and stabilization projects for major mining clients, including:
- Slope protection (West Wanagon) at PT Freeport Indonesia’s Grasberg mining site, located in a challenging highland environment.
- Artificial slope stabilization at the LNG & CCPP terminal owned by PT Amman Mineral and in the UG Kopra area owned by PT Tambang Tondano Nusajaya.
- Rockfall barriers and geosynthetic systems (geocells, geogrids) for erosion control and slope reinforcement owned by PT Amman Mineral.
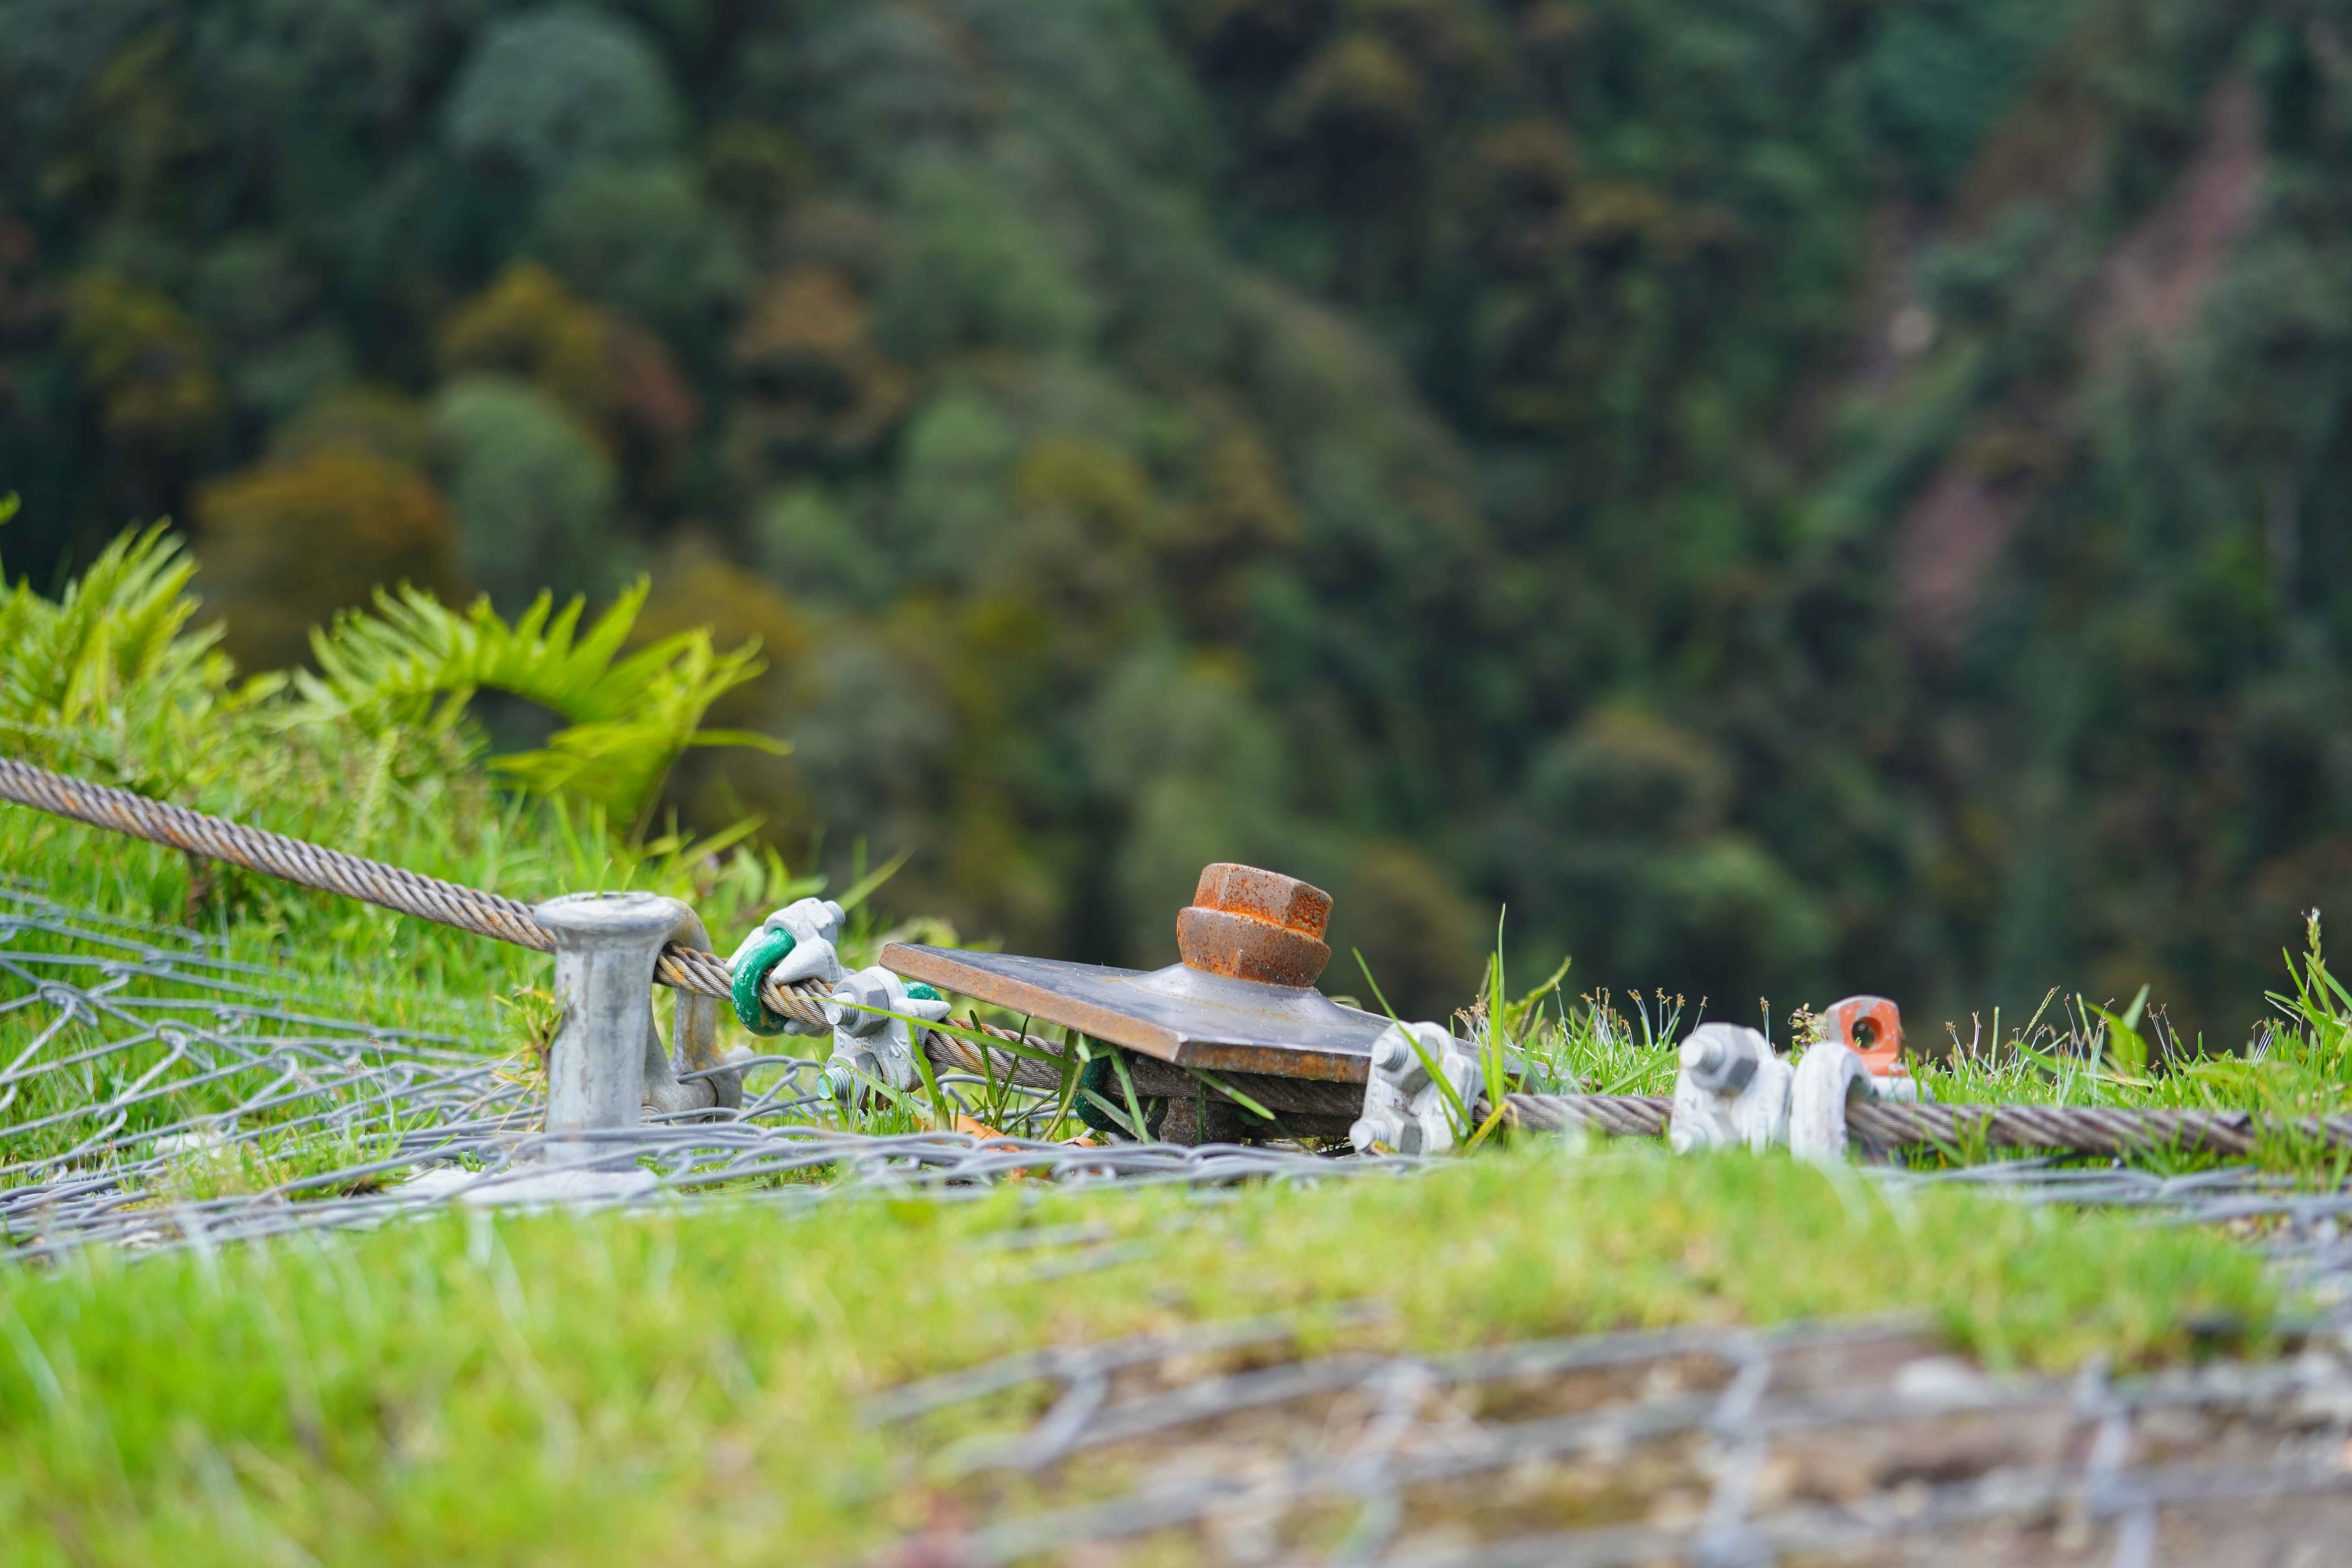
Figure 6. Bearing plate and locking nut on a slope in a mountain environment.
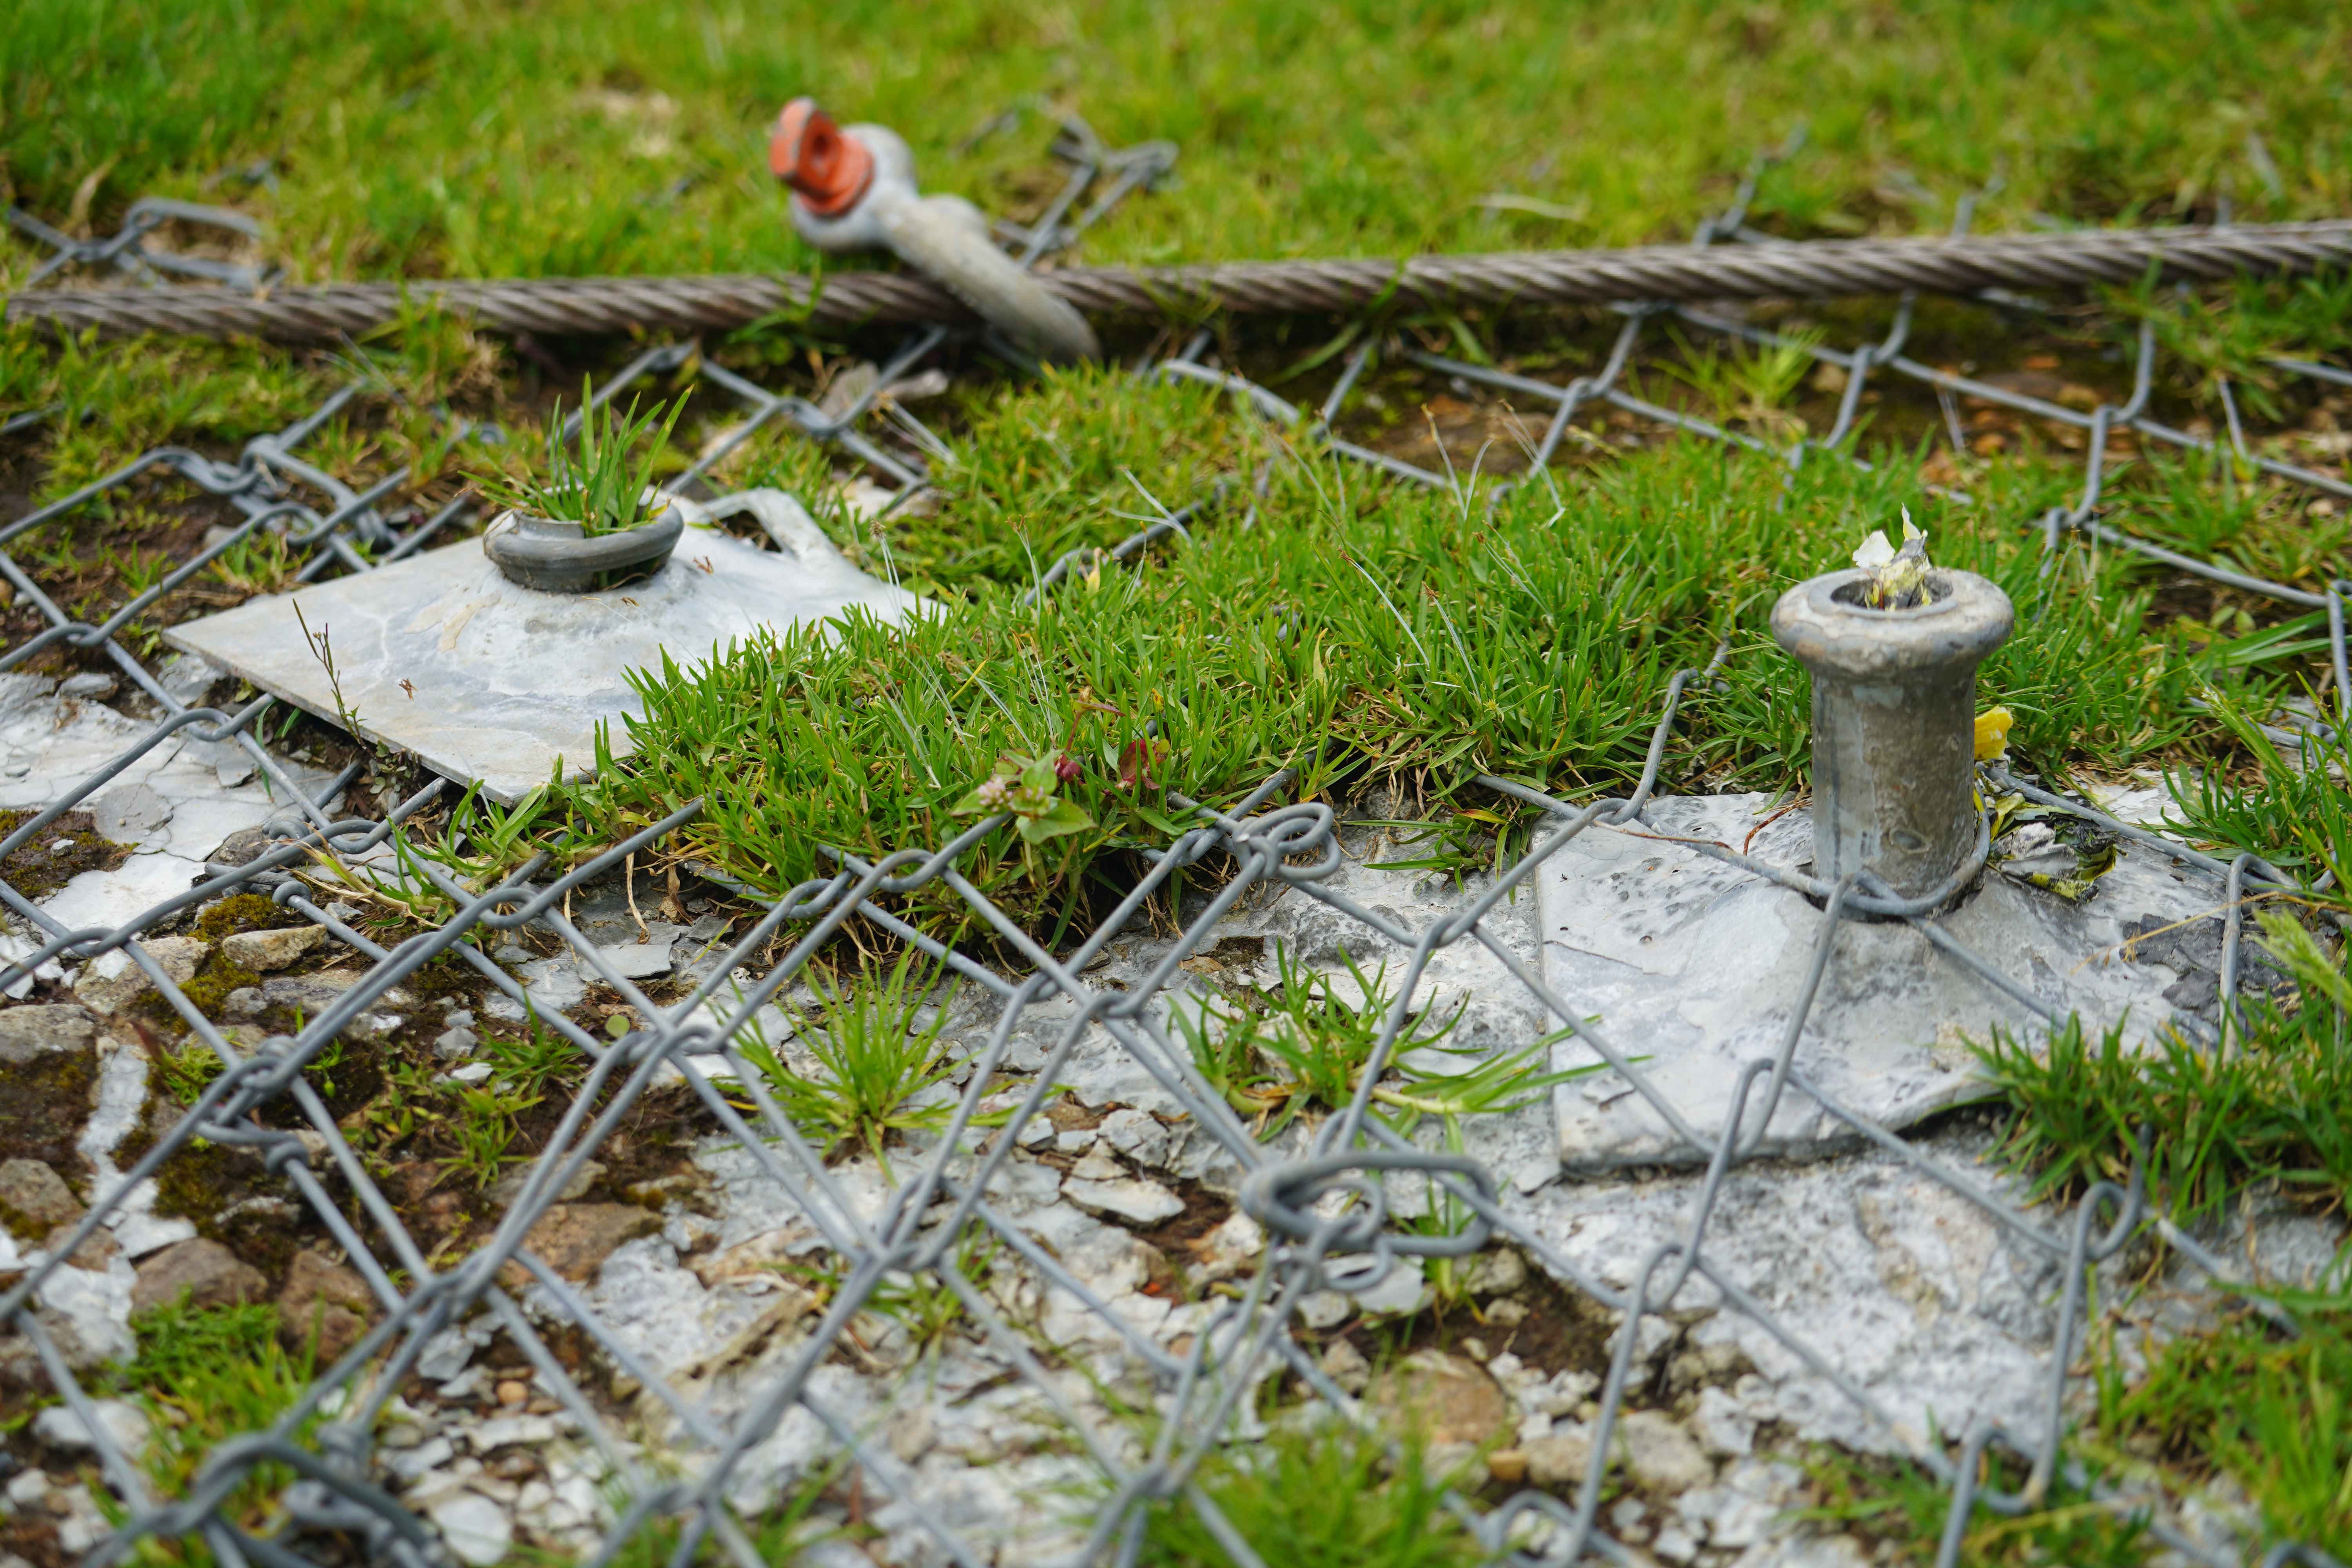
Figure 7. Nail points and wiremesh on a slope surface that is beginning to be covered by vegetation.
Advantages and Disadvantages of Soil Nailing
Like all geotechnical methods, soil nailing has strengths and limitations that need to be considered according to site conditions.
Advantages:
- Economical - generally cheaper than massive reinforced concrete walls or sheet piles.
- Fast and flexible, following the shape of irregular slopes.
- Requires relatively light equipment, making it suitable for limited working space.
- Minimal disruption to surrounding traffic or operations.
- Can be combined with ground anchors, geosynthetics, or fiber-reinforced shotcrete.
Disadvantages:
- Less suitable for loose non-cohesive soils or soft water-saturated soils below the groundwater table.
- Requires adequate geotechnical investigation; mistaken soil assumptions can be fatal.
- The quality of grouting and shotcrete is decisive; quality control must be strict.
- Generally permanent and difficult to remove once installed.
- Susceptible to long-term corrosion if reinforcement protection is not properly designed.
Soil Nailing Implementation Tips and Recommendations
- Begin with a thorough geotechnical investigation (core drilling, SPT/CPT tests, groundwater level) before design.
- Work the slope in stages from top to bottom (top-down) and limit the excavation height per stage so that the temporary slope remains stable.
- Use quality non-shrink grout to ensure the nail–soil bond and optimal corrosion protection.
- Design the drainage system (weep holes, horizontal drains) from the start; water is the main cause of slope failure.
- Conduct pull-out tests on sample nails to verify the actual pull-out capacity in the field.
- Consider fiber-reinforced shotcrete as an alternative or complement to wiremesh to speed up the work.
- Engage an experienced ground support & geotechnical service provider so that design and implementation align with standards.
Supporting Materials and Solutions for Soil Nailing
The success of soil nailing depends heavily on the quality of the bonding and protective materials. As an official distributor of SIKA Mining Solutions and an integrated geotechnical service provider, APTEKINDO provides a range of materials and services relevant to every stage of the work:
- Grouting - Sikagrout® 215 NEW and Sikagrout® 214-11 (non-shrink grout) for stable, shrinkage-free, high-bond nail grouting.
- Shotcrete accelerator - Sigunit® L54-45 AF and Sigunit® D430 (shotcrete accelerators) to speed up the hardening of the shotcrete facing layer.
- Concrete fiber - Sikafiber® Force-48 / Force-55 (macro synthetic fiber) for fiber-reinforced shotcrete that reduces cracking.
- Admixture - Sika® ViscoCrete® 305ID and Viscoflow® 3660 LR (superplasticizers) for optimal concrete/shotcrete quality and workability.
- Steel support & geosynthetics - steel support and reinforcement components (nail bar, bearing plate) as well as geosynthetics (geocell, geogrid) from the Ground Stabilization Materials line.
In terms of services, APTEKINDO provides Artificial Ground Support (rock bolting, cable bolting), Geotechnical Solutions, and integrated Slope Protection from analysis and material supply through to field implementation.
Frequently Asked Questions (FAQ)
What is soil nailing?
Soil nailing is an in-situ ground reinforcement method that stabilizes slopes by installing passive steel bars at close spacing into the soil, then grouting them and covering them with shotcrete so that the soil mass becomes a single stable composite block.
What is the difference between soil nailing and a ground anchor?
Soil nailing is passive (it only works when the soil moves) and is installed at close spacing, short in length, and without prestress. A ground anchor is active because it is given a prestressing force (stressing), is fewer in number, and is usually longer so that it reaches into the stable soil zone.
What is the minimum factor of safety for slope stability?
For permanent slopes, geotechnical practice and SNI 8460:2017 generally require a minimum factor of safety (FS) of about 1.5 under static conditions and a lower value (e.g., 1.1) under seismic conditions. The exact value depends on the load category and project risk.
Is soil nailing suitable for all soil types?
No. Soil nailing is most effective in soils with sufficient cohesion or in weathered rock. The method is less suitable for loose non-cohesive sand or soft water-saturated soil below the groundwater table, which may require other methods or a combination of reinforcement.
Is soil nailing cheaper than a retaining wall?
In many conditions, yes. Soil nailing is generally more cost-effective and faster than massive reinforced concrete walls or sheet piles, especially for staged excavated slopes. However, cost comparisons must still be calculated for each project based on soil conditions and slope geometry.
Conclusion
Soil nailing is an efficient, flexible, and proven slope stabilization method that reinforces slopes from within using grouted steel bars covered with shotcrete. With correct installation stages, an adequate drainage system, and quality materials, this method can restore the slope factor of safety to a safe level without the high cost of a conventional retaining wall.
The key to success lies in three things: accurate geotechnical investigation, the right choice of grout and shotcrete materials, and implementation by an experienced team. All three must go hand in hand to keep the slope stable throughout the operational life.
Need a Safe and Proven Slope Stability Solution?
APTEKINDO is ready to support your project from geotechnical analysis and supply of soil nailing materials (non-shrink grout, shotcrete accelerators, fiber, and steel reinforcement components) to the execution of Slope Protection and Artificial Ground Support in an integrated manner. Consult our technical team about your slope stabilization needs today for a safe, efficient solution that meets applicable standards. Contact APTEKINDO: sales@aptekindo.com & engineering@aptekindo.com
